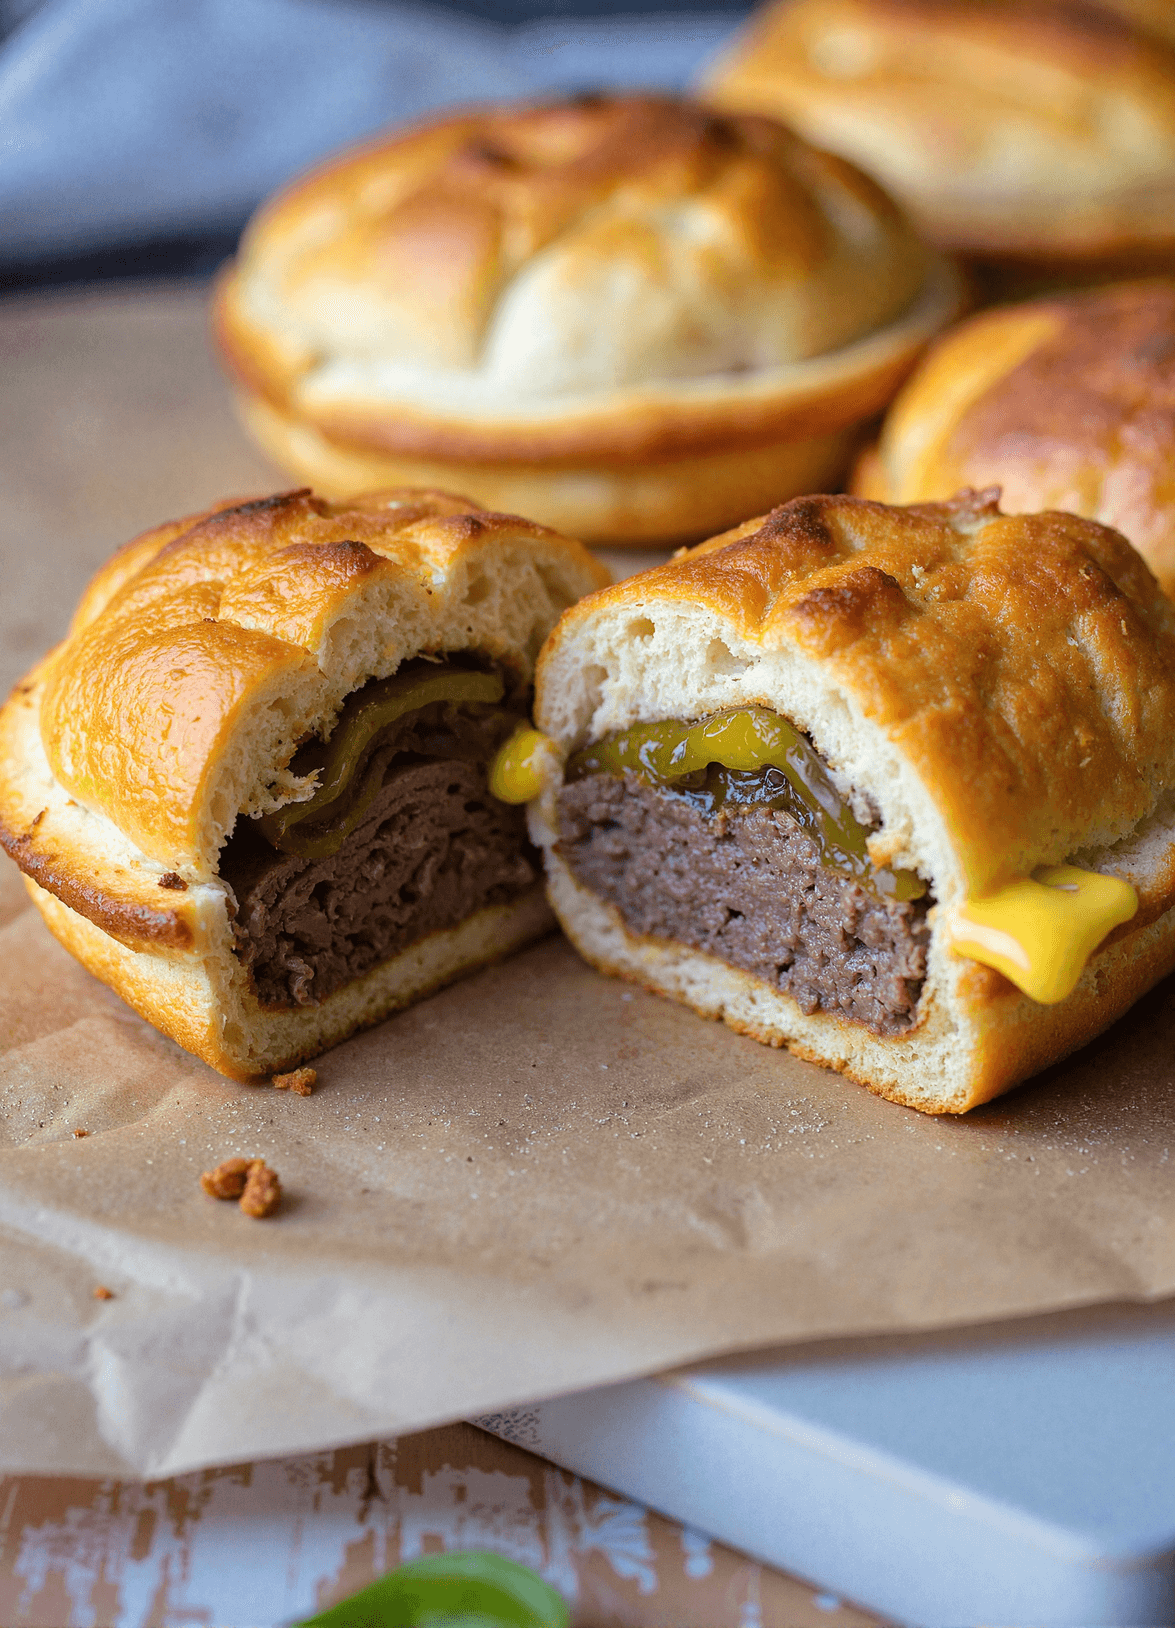
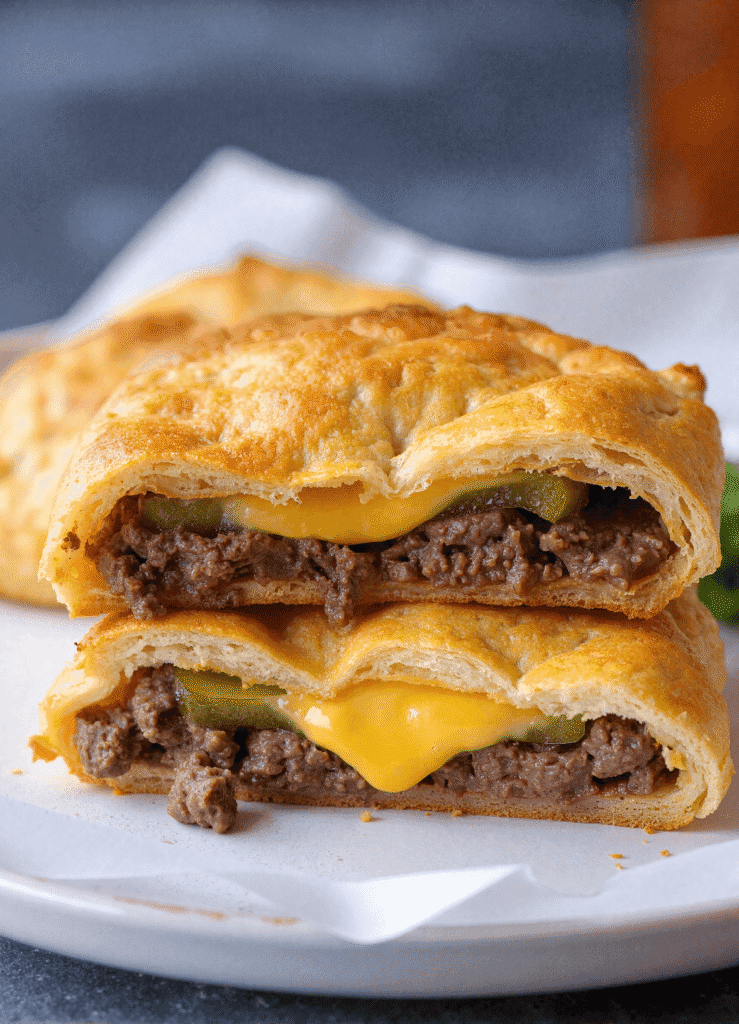
There’s just something undeniably comforting about biting into a flaky, golden pastry stuffed with juicy ground beef and melted cheese. These cheeseburger pockets are everything you love about a classic cheeseburger—but wrapped up in a tidy, hand-held bundle that’s perfect for lunchboxes, weeknight dinners, or make-ahead freezer meals.
I created this recipe during a hectic season when I needed meals that were portable, reheated beautifully, and still felt homemade. The first time I made these, I barely got them to the table before my family inhaled the whole batch. That’s when I knew they were a hit.
If you’re someone who craves the taste of a juicy burger but wants the convenience of a grab-and-go meal, these cheeseburger pockets hit the sweet spot. You don’t need a grill, and you don’t even need a bun—just a few simple ingredients and about 30 minutes from start to finish. They’re easy to customize and fun for kids to help make, which earns them a spot in my regular dinner rotation.
Want more savory, satisfying bites like this? Check out my Garlic Parmesan Chicken and Potatoes, Bacon, Egg, and Tater Tot Casserole, and Garlic Shrimp Sausage Skillet for more craveable meals.
Skip the Drive-Thru: These Cheeseburger Pockets Are Better and Faster
Ingredients
- 1 lb ground beef
- 1 small onion finely diced
- 1 cup shredded cheddar cheese
- 2 tbsp ketchup
- 1 tbsp yellow mustard
- 1 tsp garlic powder
- Salt & pepper to taste
- 2 cans crescent roll dough
- 1 egg beaten (for egg wash)
Instructions
- Preheat oven to 375°F. Line a baking sheet with parchment paper.
- In a skillet over medium heat, cook the ground beef and onion until fully browned. Drain excess fat.
- Stir in ketchup, mustard, garlic powder, salt, and pepper. Remove from heat and let cool slightly.
- Unroll crescent dough and separate into rectangles (press seams together). Spoon 2–3 tablespoons of meat mixture into the center.
- Sprinkle cheese on top and fold the dough over to seal. Use a fork to crimp edges.
- Place on baking sheet, brush tops with egg wash, and bake for 18–20 minutes or until golden brown.
- Let cool for 5 minutes before serving.
Notes
Secret Tips for Cheeseburger Pockets
- Cool the Filling Before Assembling: Let the cooked beef and onion mixture cool for 10–15 minutes before adding it to the dough. This prevents the crescent dough from becoming soggy and helps keep the pockets sealed while baking.
- Use American Cheese for Extra Meltiness: While shredded cheddar works great, adding a slice of American cheese inside each pocket gives you that classic, creamy melt that mimics your favorite diner burger.
- Add Pickles Last Minute: If you’re using pickles, add them just before sealing each pocket. This keeps them crisp and prevents the dough from absorbing too much moisture.
- Preheat the Baking Sheet: For extra-crispy bottoms, preheat the baking sheet in the oven while assembling the pockets. Carefully place the filled dough on the hot sheet for a quick crust.
- Seal with Fork + Egg Wash: Crimp the edges with a fork and brush the tops with egg wash for bakery-style sheen and a secure seal that won’t pop open mid-bake.
- Add a Steam Vent: Poke a small slit or two in the top of each pocket to allow steam to escape. This prevents puffing and ensures even cooking inside.
- Freeze Unbaked for Meal Prep Magic: Place unbaked pockets on a tray, freeze until firm, then transfer to a zip-top bag. Bake straight from frozen (add 5 extra minutes) for a fresh-out-the-oven meal anytime.
- Customize the Seasoning: Add a dash of Worcestershire sauce, garlic powder, or smoked paprika to the beef for a richer, more complex flavor that sets your recipe apart.
Recipe Overview
- Difficulty Level: Easy
- Course: Dinner or Lunch
- Cuisine: American
- Servings: 8 pockets
- Prep Time: 15 minutes
- Cook Time: 20 minutes
- Total Time: 35 minutes
Nutritional Snapshot (Per Pocket)
- Calories: ~320
- Protein: 17g
- Fat: 18g
- Carbohydrates: 26g
- Fiber: 1g
- Sugar: 2g
Budget Breakdown
- Ground beef: ~$3.50
- Shredded cheese: ~$2.00
- Crescent roll dough (2 cans): ~$4.00
- Onion, ketchup, mustard, spices: ~$1.00 Total Cost: ~$10.50
Cost Per Pocket: ~$1.31
Behind the Recipe
This recipe was born out of necessity—those in-between grocery trip nights when I had half a pound of ground beef, a lonely onion, and a roll of crescent dough in the fridge. The kids were hungry, I was short on time, and ordering takeout felt like a defeat. So I threw this together with what I had, and to my surprise, everyone cleaned their plates.
What started as a pantry meal quickly became a weekly staple. These cheeseburger pockets are endlessly adaptable. I’ve made them with puff pastry, homemade dough, or even biscuit dough. Sometimes I add chopped pickles for a Big Mac-inspired twist, or a sprinkle of sesame seeds on top for extra crunch.
And while the flavor is spot-on, the real magic is how these reheat like a dream. I double the batch, freeze half, and thank myself every time I pull one out for a quick lunch. This is the kind of meal that feels like fast food but tastes like home. It’s real food, made simply, with ingredients you likely already have in your kitchen. Learn more about the effects of fast food from MedicaNewsToday.
As someone who loves recipes that flex with your schedule and your pantry, I keep coming back to these pockets. They’re easy to prep ahead, kid-approved, and just the right amount of indulgent. Serve them with a fresh salad or roasted broccoli and you’ve got a balanced meal that doesn’t feel like a compromise.
What Makes It Irresistible
- Perfectly portable: These are ideal for lunchboxes, picnics, or meals on the go.
- Freezer-friendly: Bake now, freeze for later, and reheat when you need a quick bite.
- Versatile filling: Use ground turkey, plant-based meat, or add chopped veggies to switch it up.
- Kid-tested: Even picky eaters love the cheesy, meaty filling.
Best Served When
- Busy weeknights when dinner needs to be fast and filling.
- Game days or parties—slice into halves for easy appetizers.
- Back-to-school meal prep—make a batch over the weekend for the week ahead.
Pantry Rundown (Ingredients List)
Ingredients:
- 1 lb ground beef
- 1 small onion, finely diced
- 1 cup shredded cheddar cheese
- 2 tbsp ketchup
- 1 tbsp yellow mustard
- 1 tsp garlic powder
- Salt & pepper to taste
- 2 cans crescent roll dough
- 1 egg, beaten (for egg wash)
Ingredient Notes:
- Ground beef: Use 85/15 for the best balance of moisture and flavor. You can also use leaner cuts or even ground turkey for a lighter option (WebMD on lean meats).
- Cheddar cheese: Try pepper jack or a shredded cheese blend for added flavor.
- Crescent roll dough: Look for buttery versions, or use puff pastry for a flakier finish.
How It’s Done
- Preheat oven to 375°F. Line a baking sheet with parchment paper.
- In a skillet over medium heat, cook the ground beef and onion until fully browned. Drain excess fat.
- Stir in ketchup, mustard, garlic powder, salt, and pepper. Remove from heat and let cool slightly.
- Unroll crescent dough and separate into rectangles (press seams together). Spoon 2–3 tablespoons of meat mixture into the center.
- Sprinkle cheese on top and fold the dough over to seal. Use a fork to crimp edges.
- Place on baking sheet, brush tops with egg wash, and bake for 18–20 minutes or until golden brown.
- Let cool for 5 minutes before serving.
Sam’s Kitchen Secrets
- Chill the beef mixture before filling the pockets—it keeps the dough easier to work with.
- Add a slice of American cheese for a true cheeseburger melt inside.
- Want extra crispy bottoms? Preheat the baking sheet in the oven before placing your pockets on it.
- Swap in BBQ sauce or ranch dressing for a fun flavor twist.
Make It Yours
- Healthier: Use lean ground turkey, low-fat cheese, and whole wheat dough.
- Spicy: Add diced jalapeños or a pinch of chili flakes.
- Veggie-packed: Sauté finely chopped mushrooms or bell peppers with the beef.
- Mini version: Use biscuit dough and make bite-sized cheeseburger hand pies.
Keep It Cozy
- Store leftovers in the fridge for up to 4 days.
- Reheat in the oven at 350°F for 10 minutes, or pop in the air fryer for crispier results.
- Freeze individually wrapped pockets for up to 2 months.
Make It a Meal 🍽️
Pair these cheesy pockets with:
- Garlic Parmesan Roasted Broccoli
- Sausage, Egg, and Cheese Breakfast Roll-Ups
- Easy Street Corn Chicken Rice Bowl
And explore more from these tags:
Frequently Asked Questions
Let the filling cool before assembling and make sure to seal the edges well. Using parchment paper also helps prevent soggy bottoms.
Yes, puff pastry gives a flakier, more bakery-style finish. Reduce bake time by 2–3 minutes and keep an eye on browning.
Absolutely! Cool completely after baking, wrap individually in foil, and freeze. Reheat in the oven or air fryer without thawing.
Try a simple salad, sweet potato fries, or roasted vegetables. You can also serve them with dipping sauces like ranch, mustard, or sriracha mayo.
Yes! Air fry at 360°F for 8–10 minutes or until golden and crisp.
Cheddar, mozzarella, and pepper jack all work well. For a creamier melt, add a slice of processed cheese inside.
Very! They’re great for picky eaters—just leave out onions or use mild cheese for younger kids.
Yes, many plant-based ground meats work great. Choose one that holds its texture when cooked.
Stored in an airtight container, they’ll keep well for up to 4 days.
You can pre-cut and shape the dough, then refrigerate it until you’re ready to assemble and bake.
Final Thoughts
Cheeseburger pockets are one of those recipes that just work. They’re easy, delicious, and incredibly adaptable to whatever you have on hand. Whether you’re a parent trying to survive the school week or just someone who appreciates a no-fuss, comforting meal—this recipe checks all the boxes.
I love making these for Sunday meal prep and watching my family get excited about a lunch that feels like a treat. They’re portable, freezer-friendly, and crowd-approved. Best of all, they turn the humble cheeseburger into something fun and new.
Make a batch, share a few (if you’re willing), and tuck the rest away for future you to enjoy. These cheeseburger pockets are bound to become your new weeknight MVP.
📌 Pin & Share the Love
Love these Cheeseburger Pockets? Pin them to your Easy Dinner Ideas or Comfort Food Dinner board and tag us @readyprepmeals!
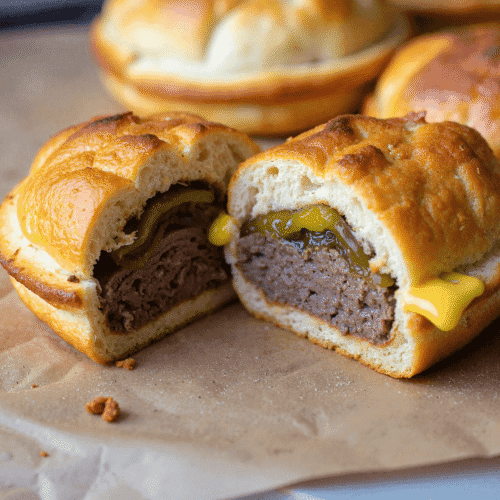
📌 Pin This Recipe: Cheeseburger Pockets
Crispy, cheesy, and packed with flavor—these homemade cheeseburger pockets are perfect for weeknight dinners, freezer meals, or on-the-go lunches!