There are some recipes that become household favorites not because they’re flashy or complicated, but because they strike the perfect balance of flavor, ease, and comfort. Honey Garlic Chicken is one of those dishes. It’s sweet, savory, a little sticky, and so satisfyingly garlicky—it’ll make you want to lick the plate clean. This recipe is ideal for anyone craving bold flavors without the hassle of takeout or the prep time of an elaborate dish.
I first stumbled upon this gem of a recipe on a rainy Tuesday evening. I had chicken thawing on the counter and zero motivation to follow anything too fussy. What started as a “let’s throw something together” experiment turned into a full-on flavor bomb that my family now requests on repeat. The smell of honey caramelizing with garlic and soy sauce alone is enough to get everyone hovering around the stove with forks in hand.
Whether you’re a busy parent, a solo foodie, or a beginner looking for your first “wow” dish—this Honey Garlic Chicken will not let you down.
Quick Recipe Snapshot
Difficulty Level: Easy
Serving Size: 4 servings
Total Calories per Serving: ~350 kcal
Cuisine: Asian-inspired
Prep Time: 10 minutes
Cooking Time: 15 minutes
What Makes This Honey Garlic Chicken So Irresistible?
There’s something magical about the combination of garlic and honey. The sweetness of the honey balances the salty depth of soy sauce and the pungent hit of fresh garlic. This recipe gives you juicy, pan-seared chicken bathed in a glossy, sticky sauce that clings to every bite.
And the best part? It’s incredibly flexible. Serve it over rice for a classic take, roll it into lettuce wraps for something fresh and light, or toss it with stir-fried veggies for a wholesome meal. No matter how you spin it, this dish never fails.
Why You’ll Fall in Love with This Recipe
If you’re still on the fence about trying it, here are some solid reasons to roll up your sleeves:
- Restaurant-style flavor, made at home: Skip takeout and still impress.
- One-pan wonder: Less mess, more flavor.
- Perfect for meal prep: Stays flavorful even after reheating.
- Family-approved: Even picky eaters will ask for seconds.
- Customizable: Add heat, citrus, or herbs to make it your own.
Ingredient Breakdown
These pantry-friendly ingredients are all you need to bring this recipe to life:
- 4 boneless, skinless chicken thighs or breasts (thighs for more flavor, breasts for leaner meat)
- 2 tablespoons olive oil or vegetable oil
- Salt and black pepper, to taste
- 4 garlic cloves, minced
- ⅓ cup honey (use raw or local honey for best results)
- ¼ cup low-sodium soy sauce
- 2 tablespoons apple cider vinegar (or rice vinegar)
- 1 teaspoon cornstarch + 2 teaspoons water (optional, for thickening)
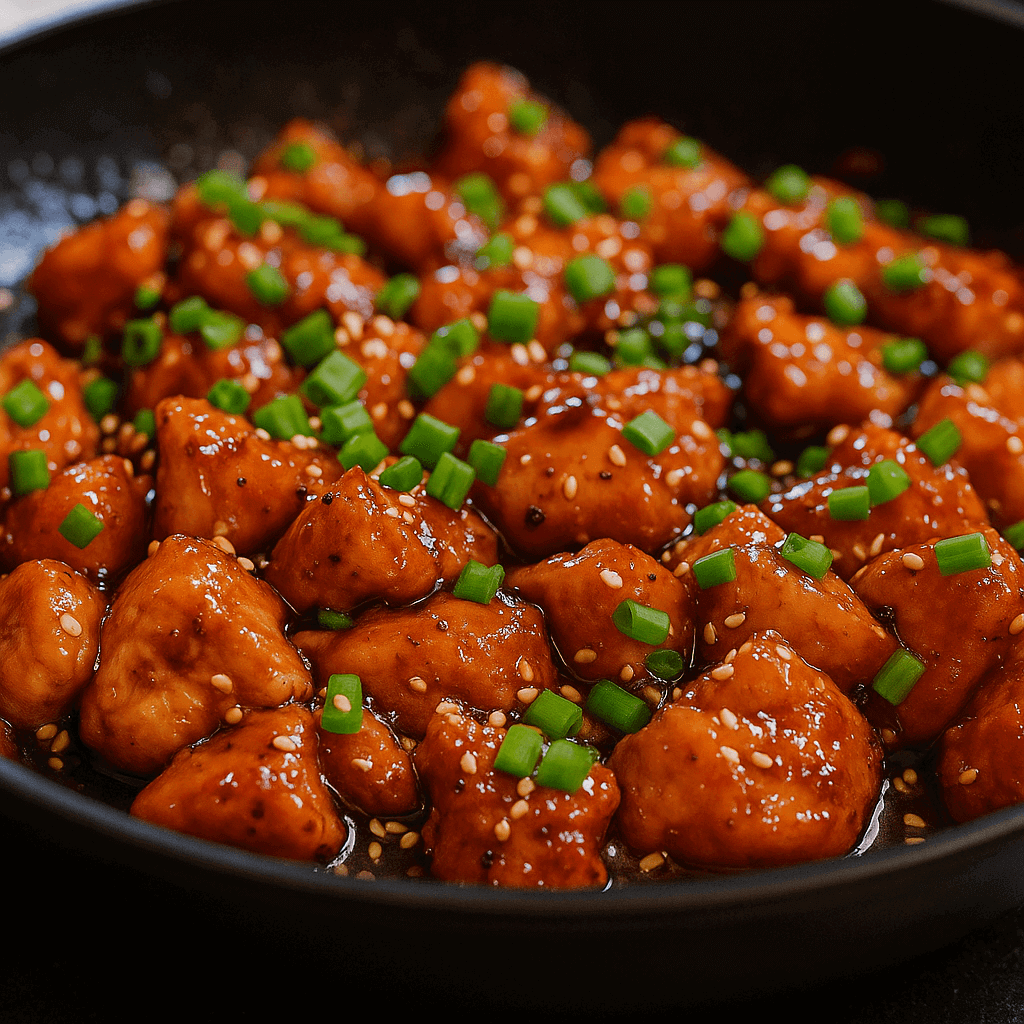
- Sesame seeds and chopped green onions, for garnish
Let’s Get Cooking: Step-by-Step Directions
1. Prep the Chicken Like a Pro
Start by patting your chicken dry with paper towels—this helps it sear properly. Season generously on both sides with salt and pepper.
If you’re using breasts and they’re thick, consider slicing them in half horizontally so they cook faster and more evenly.
2. Sear to Perfection
Heat a large skillet over medium-high heat. Add oil and wait until it’s shimmering. Place your chicken pieces in, making sure not to crowd the pan. Let them cook undisturbed for about 4–5 minutes per side, or until golden brown and fully cooked (165°F internal temperature).
Once done, remove the chicken and set it aside. Don’t wipe the pan—those browned bits are flavor gold.
3. Build the Sauce
Reduce the heat to medium. Add minced garlic to the pan and sauté for 30 seconds until fragrant (careful not to burn it).
Stir in the honey, soy sauce, and vinegar. Let the sauce simmer and bubble for 2–3 minutes. If you want a thicker sauce, whisk in the cornstarch slurry now and let it simmer another minute until it thickens.
4. Glaze and Finish
Return the cooked chicken to the skillet. Turn the pieces over a few times so they’re fully coated in the luscious glaze. Let everything simmer together for 1–2 more minutes so the flavors really marry.
Plating Ideas: How to Serve Honey Garlic Chicken
The real beauty of this recipe is how easily it pairs with your favorite sides:
- White or brown rice: A classic choice that soaks up the sauce.
- Steamed jasmine or garlic fried rice: For extra flavor.
- Mashed potatoes: A cozy, comforting option.
- Asian noodles or ramen: Tossed with sesame oil and a splash of soy sauce.
- Stir-fried vegetables: Broccoli, snow peas, and carrots all work well.
- Fresh green salad: With a sesame or miso dressing for contrast.
Tips for Success
Even though this recipe is simple, a few small details can take it from good to incredible:
- Don’t overcook the chicken: Use a thermometer if you’re unsure.
- Balance the sauce: Adjust honey or vinegar to suit your taste.
- Add extra garlic if you’re a true fan: I won’t judge.
- Make it spicy: A few chili flakes or a dash of sriracha gives it heat.
- Marinate for more depth: Let the chicken sit in the sauce for 15–30 minutes before cooking.
Fun Variations to Try
Want to change things up? Here are some creative spins:
- Spicy Honey Garlic Chicken – Add 1 tsp of chili paste or sriracha to the sauce.
- Ginger Honey Garlic Chicken – Toss in freshly grated ginger with the garlic.
- Crispy Version – Lightly coat chicken in cornstarch before searing.
- Orange Infusion – Swap vinegar with orange juice and add a little zest.
- Lemon Pepper Honey Garlic Chicken – Use lemon juice and cracked black pepper.
- Honey Garlic Shrimp – Use peeled shrimp and reduce cook time to 2–3 minutes.
- Honey Garlic Tofu – A vegetarian version with crispy tofu cubes.
- Baked Version – Bake chicken in the sauce at 375°F for 25–30 minutes.
- Honey Garlic Drumsticks – Great for parties; bake or grill.
- Teriyaki Twist – Add a splash of mirin or a spoonful of brown sugar.
How to Store and Reheat Leftovers
- Refrigerator: Store in an airtight container for up to 3 days.
- Freezer: Cool completely before freezing. Store for up to 3 months.
- To Reheat: Warm gently in a skillet over low heat. Add a splash of water to loosen the sauce if needed.
Tools That Make Cooking Easier
While you can absolutely make this dish with basic kitchen tools, these items will make life easier:
- Non-stick skillet – Prevents sticking and ensures even browning.
- Garlic press – Speeds up prep time.
- Tongs – For flipping chicken without splashing hot oil.
- Whisk – Great for combining the sauce and cornstarch slurry.
Frequently Asked Questions
Can I use pre-minced garlic?
Yes, but fresh garlic will always give a stronger, more vibrant flavor.
Can I use chicken thighs instead of breasts?
Absolutely. In fact, thighs tend to stay juicier and are more flavorful. Just adjust the cooking time accordingly.
Can I make it gluten-free?
Yes! Swap regular soy sauce with gluten-free tamari and make sure your cornstarch and vinegar are certified gluten-free.
Can I bake this instead of pan-searing?
You sure can. Bake the seasoned chicken at 375°F for about 25 minutes, then pour the simmered sauce over the top and return it to the oven for another 5–10 minutes to let everything meld.
Final Thoughts: A Go-To Chicken Recipe You’ll Love
This Honey Garlic Chicken recipe has all the qualities of a true weeknight hero—it’s quick, affordable, and packed with flavor. But it’s also elegant enough to serve when company comes over. The sticky-sweet glaze, that punchy garlic aroma, and the juicy chicken come together in such harmony that it feels like something much fancier than it is.
From the first sizzle in the pan to the last bite on your plate, this is one recipe that never fails to deliver comfort and satisfaction. Try it once, and you’ll be hooked.
Now it’s your turn!
Make this recipe your own—add your favorite twist, snap a photo, and share it online. And if you loved it, don’t forget to bookmark the recipe and leave a comment below. Happy cooking!

Sticky, Savory, and Sweet: The Ultimate Honey Garlic Chicken
Course: DinnerCuisine: AsianDifficulty: Easy4
servings10
minutes15
minutes350
kcal25
minutesIngredients
4 boneless, skinless chicken thighs or breasts (thighs for more flavor, breasts for leaner meat)
2 tablespoons olive oil or vegetable oil
Salt and black pepper, to taste
4 garlic cloves, minced
⅓ cup honey (use raw or local honey for best results)
¼ cup low-sodium soy sauce
2 tablespoons apple cider vinegar (or rice vinegar)
1 teaspoon cornstarch + 2 teaspoons water (optional, for thickening)
Sesame seeds and chopped green onions, for garnish
Directions
- Prep the Chicken Like a Pro
- Start by patting your chicken dry with paper towels—this helps it sear properly. Season generously on both sides with salt and pepper.
If you’re using breasts and they’re thick, consider slicing them in half horizontally so they cook faster and more evenly. - Sear to Perfection
- Heat a large skillet over medium-high heat. Add oil and wait until it’s shimmering. Place your chicken pieces in, making sure not to crowd the pan. Let them cook undisturbed for about 4–5 minutes per side, or until golden brown and fully cooked (165°F internal temperature).
Once done, remove the chicken and set it aside. Don’t wipe the pan—those browned bits are flavor gold. - Build the Sauce
- Reduce the heat to medium. Add minced garlic to the pan and sauté for 30 seconds until fragrant (careful not to burn it).
Stir in the honey, soy sauce, and vinegar. Let the sauce simmer and bubble for 2–3 minutes. If you want a thicker sauce, whisk in the cornstarch slurry now and let it simmer another minute until it thickens. - Glaze and Finish
- Return the cooked chicken to the skillet. Turn the pieces over a few times so they’re fully coated in the luscious glaze. Let everything simmer together for 1–2 more minutes so the flavors really marry.
Notes
- Made It? Loved It?
Don’t keep it a secret — share a pic and tag us so we can drool with you!


