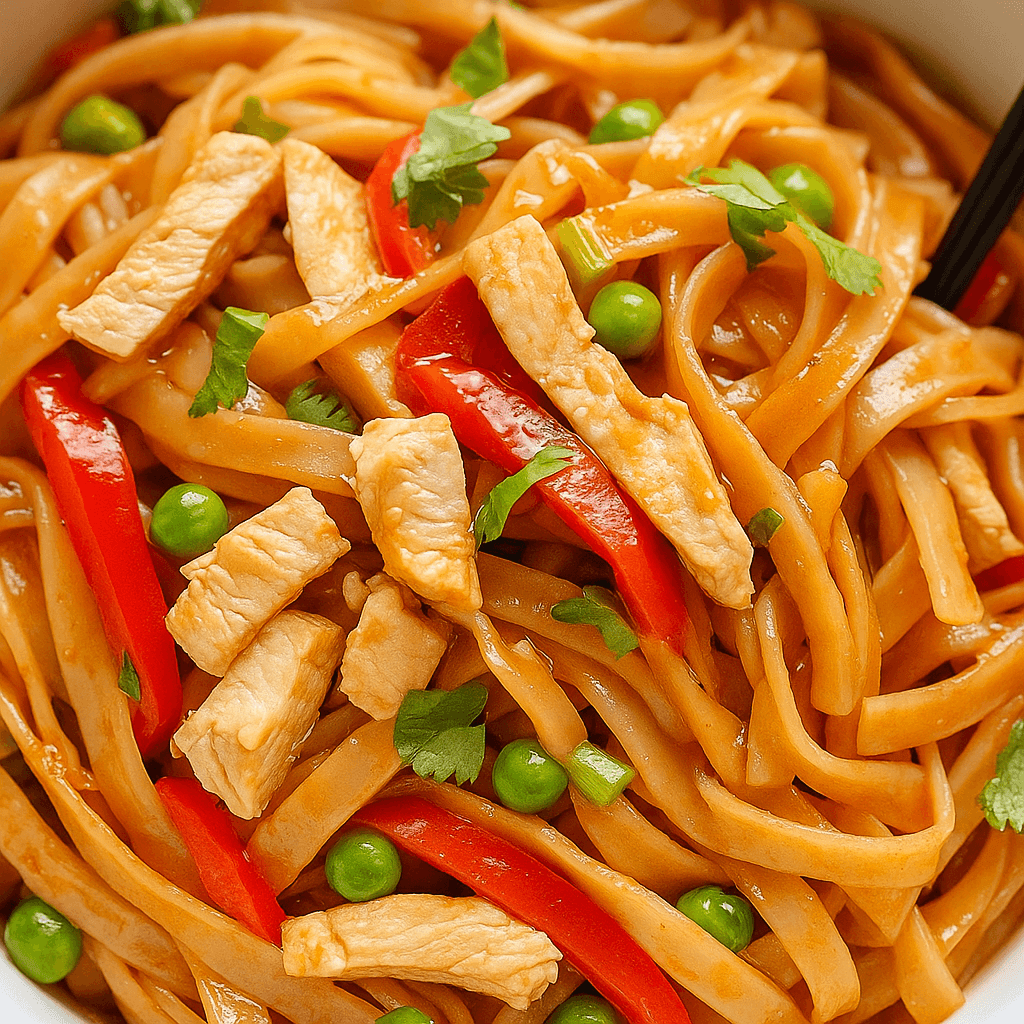
Craving a delicious homemade Pad Thai but don’t have all night? Meet your new go-to lunch: Instant Pot Chicken Pad Thai. This dish delivers the authentic flavors of your favorite takeout classic but comes together in a fraction of the time, right in your trusty Instant Pot. Imagine tender strips of chicken, silky rice noodles, crisp veggies, and a savory-sweet sauce that coats every bite perfectly. It’s fast, it’s satisfying, and it’s about to become a regular in your weekly meal plan.
Whether you’re new to cooking Pad Thai or an experienced foodie, this recipe simplifies everything without sacrificing a single ounce of flavor. Let’s dive in and turn your lunch break into something unforgettable.
Recipe Overview
Difficulty Level: Easy
Serving Size: 4 servings
Total Calories: Around 410 calories per serving
Cuisine: Thai-American Fusion
Prep Time: 10 minutes
Cooking Time: 15 minutes
Why You’ll Love This Instant Pot Chicken Pad Thai
Quick and Convenient
With just 25 minutes from start to finish, this is the perfect lunch for busy weekdays.
Restaurant-Quality Flavor
The combination of tender chicken, chewy noodles, and tangy Pad Thai sauce tastes just like your favorite restaurant version.
One-Pot Magic
Your Instant Pot does almost all the work—which means minimal cleanup afterward.
Customizable
Adjust the spice level, swap in your favorite proteins, or load it up with veggies—this dish is super flexible.
Great for Leftovers
This Pad Thai reheats beautifully, making it a dream for meal prepping.
Ingredients You’ll Need
- 1 pound boneless, skinless chicken breast, thinly sliced
- 8 ounces rice noodles
- 1 cup bean sprouts
- 2 large eggs, lightly beaten
- 3 tablespoons Pad Thai sauce (store-bought or homemade)
- 2 tablespoons vegetable oil
- 1 green onion, chopped
Optional toppings:
- Crushed peanuts
- Fresh cilantro
- Lime wedges
- Red pepper flakes
How to Make Instant Pot Chicken Pad Thai
Step 1: Prep Your Ingredients
Thinly slice the chicken, chop the green onion, and lightly beat your eggs. Soak the rice noodles in warm water for about 10 minutes to soften them slightly, then drain.
Step 2: Sauté the Chicken
Set your Instant Pot to “Sauté” mode. Add the vegetable oil. Once it shimmers, toss in the sliced chicken. Cook, stirring occasionally, until browned and mostly cooked through—about 5-7 minutes.
Step 3: Add the Sauce and Noodles
Pour the Pad Thai sauce over the chicken and stir well to coat. Then add the drained noodles. Pour in just enough water to barely cover the noodles—usually around 1 to 1.5 cups.
Step 4: Pressure Cook
Seal the Instant Pot lid. Set it to “Manual” or “Pressure Cook” mode on high pressure for 5 minutes. Make sure the valve is set to “Sealing.”
Step 5: Quick Release
When the cooking cycle ends, perform a quick release by carefully switching the valve to “Venting.”
Step 6: Add Eggs and Bean Sprouts
Quickly stir in the beaten eggs and bean sprouts. Use the residual heat to cook the eggs, stirring constantly until they are fully set and incorporated.
Step 7: Finish and Garnish
Stir in the chopped green onion. Serve immediately, topped with optional garnishes like crushed peanuts, cilantro, and a squeeze of fresh lime.
How to Serve It Right
Garnish Like a Pro
Pile your Instant Pot Chicken Pad Thai high in shallow bowls. Sprinkle crushed peanuts and fresh cilantro generously. A wedge of lime on the side adds a restaurant-worthy touch.
Delicious Pairings
- Fresh spring rolls
- Thai cucumber salad
- Chilled jasmine tea or a light lager
Great for Meal Prep
Store leftovers in individual containers. This Pad Thai stays fresh for up to 3-4 days in the fridge and reheats like a dream.
Expert Tips for Best Results
Use Quality Ingredients
A good Pad Thai sauce makes a big difference—opt for a brand with authentic Thai flavors, or whip up your own.
Don’t Overcook the Noodles
They’ll finish cooking during pressure cooking. Soaking them first prevents mushy results.
Adjust to Taste
Prefer a little more sweetness or spice? Stir in extra brown sugar or a dash of Sriracha after pressure cooking.
Fresh Bean Sprouts Are Best
They add an essential crisp texture. Add them right at the end for maximum crunch.
Fun Variations to Try
Shrimp Pad Thai
Substitute sliced chicken with peeled, deveined shrimp. Cook them quickly during the sauté stage—they only need 1-2 minutes!
Veggie Pad Thai
Skip the meat and double up on veggies like carrots, zucchini, bell peppers, and snap peas.
Extra Nutty
Add a tablespoon of peanut butter to the sauce before pressure cooking for an extra layer of richness.
Coconut Pad Thai
Stir a splash of coconut milk into the sauce for a creamier, slightly sweet twist.
Storage and Freezing
How to Store
Refrigerate leftover Pad Thai in an airtight container for up to 4 days.
How to Freeze
You can freeze this dish too! Freeze cooled Pad Thai in portioned containers for up to 2 months. Thaw overnight in the fridge before reheating gently on the stovetop.
Kitchen Tools You’ll Need
- Instant Pot (6 or 8 quart)
- Sharp knife
- Cutting board
- Mixing bowls
- Tongs or wooden spoon
Frequently Asked Questions
Can I use pre-cooked chicken?
Yes! Just reduce the sauté time to 1-2 minutes to heat it through before adding the noodles.
What if I can’t find Pad Thai sauce?
Mix 2 tablespoons fish sauce, 1 tablespoon tamarind paste, and 1 tablespoon brown sugar as a quick substitute.
How can I make it spicier?
Add a teaspoon of chili paste to the sauce, or sprinkle with crushed red pepper flakes at the end.
Are rice noodles gluten-free?
Yes, most rice noodles are naturally gluten-free, but always double-check the packaging if you’re sensitive.
Can I use brown rice noodles?
Definitely! They’re a great whole grain option, just soak them a little longer before cooking.
Final Thoughts
Instant Pot Chicken Pad Thai brings together everything you love about this classic dish—without the long prep or complicated steps. It’s quick, it’s flavorful, and it’s ridiculously easy to customize based on what you have on hand. Whether you’re cooking for yourself, feeding a family, or meal-prepping for the week, this recipe delivers an amazing payoff in flavor and simplicity.
Save yourself the trip (and the takeout bill) and whip up this easy Instant Pot Chicken Pad Thai today. Your lunch just got a serious upgrade!
Instant Pot Chicken Pad Thai: A Quick and Flavorful Feast
Course: LunchCuisine: American, ThaiDifficulty: Easy4
servings10
minutes15
minutes410
kcal25
minutesIngredients
1 pound boneless, skinless chicken breast, thinly sliced
8 ounces rice noodles
1 cup bean sprouts
2 large eggs, lightly beaten
3 tablespoons Pad Thai sauce (store-bought or homemade)
2 tablespoons vegetable oil
1 green onion, chopped
- Optional toppings:
Crushed peanuts
Fresh cilantro
Lime wedges
Red pepper flakes
Directions
- Prep Your Ingredients
- Thinly slice the chicken, chop the green onion, and lightly beat your eggs. Soak the rice noodles in warm water for about 10 minutes to soften them slightly, then drain.
- Sauté the Chicken
- Set your Instant Pot to “Sauté” mode. Add the vegetable oil. Once it shimmers, toss in the sliced chicken. Cook, stirring occasionally, until browned and mostly cooked through—about 5-7 minutes.
- Add the Sauce and Noodles
- Pour the Pad Thai sauce over the chicken and stir well to coat. Then add the drained noodles. Pour in just enough water to barely cover the noodles—usually around 1 to 1.5 cups.
- Pressure Cook
- Seal the Instant Pot lid. Set it to “Manual” or “Pressure Cook” mode on high pressure for 5 minutes. Make sure the valve is set to “Sealing.”
- Quick Release
- When the cooking cycle ends, perform a quick release by carefully switching the valve to “Venting.”
- Add Eggs and Bean Sprouts
- Quickly stir in the beaten eggs and bean sprouts. Use the residual heat to cook the eggs, stirring constantly until they are fully set and incorporated.
- Finish and Garnish
- Stir in the chopped green onion. Serve immediately, topped with optional garnishes like crushed peanuts, cilantro, and a squeeze of fresh lime.
Notes
- Made It? Loved It?
Don’t keep it a secret — share a pic and tag us so we can drool with you!


